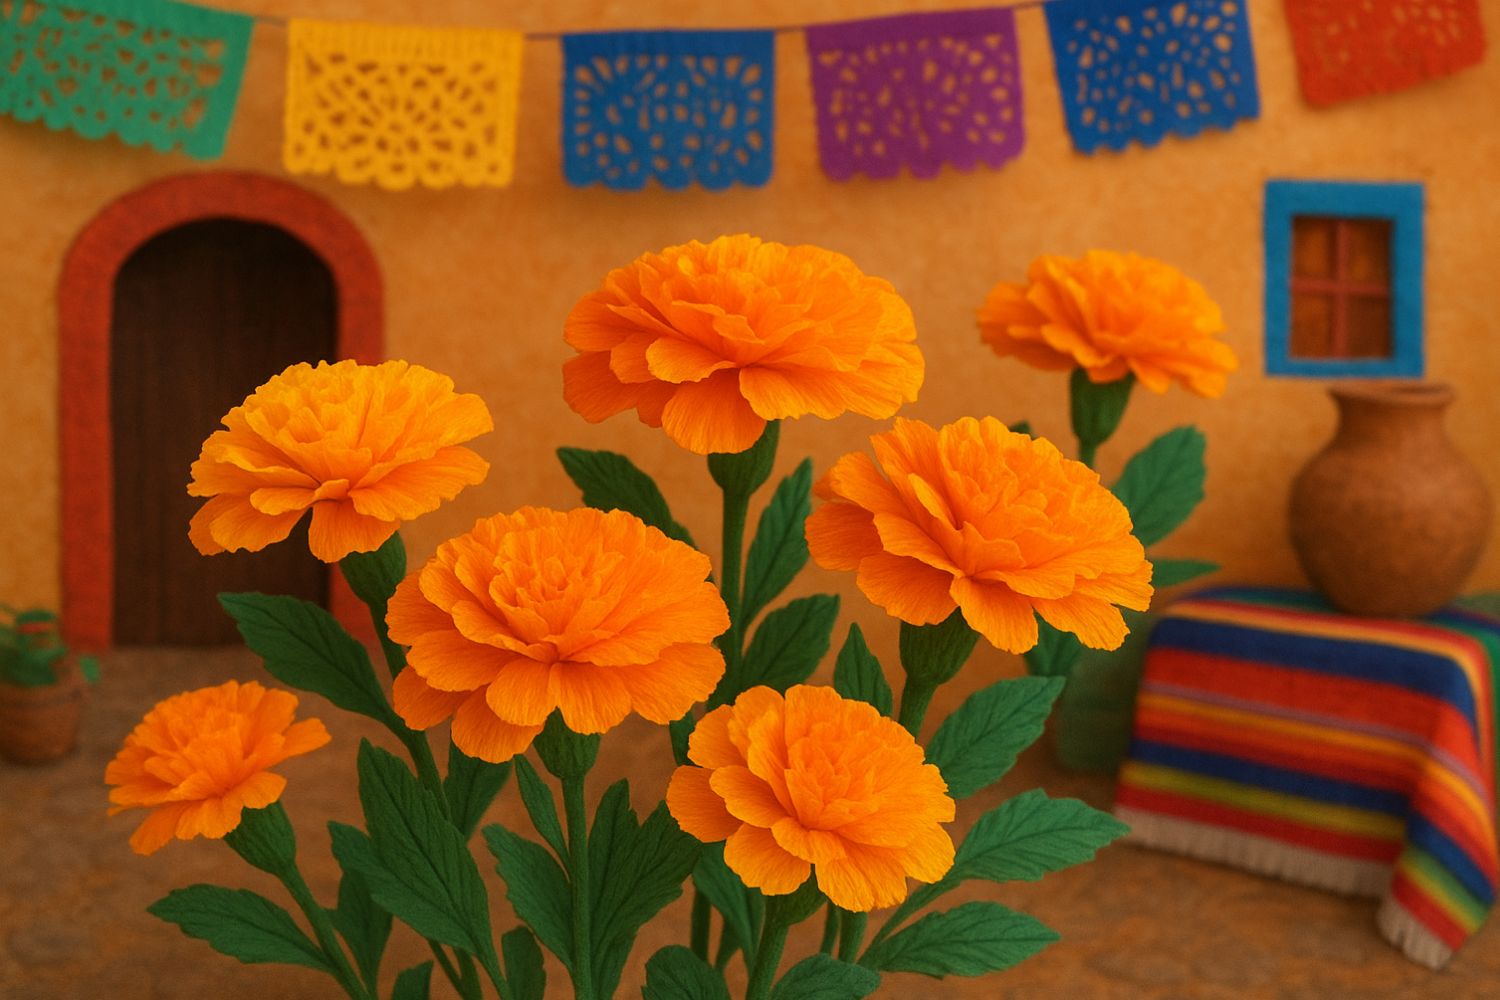
Following the steps described by grandpa Juan (El abuelo Juan), you'll discover that making them is easier than it seems at first glance...

If there’s one flower that absolutely cannot be missing during Día de los Muertos, the famous Mexican tradition celebrating the symbolic return of departed souls, it’s the Cempasúchil, also known as “Mexican marigold” or by its botanical name Tagetes erecta.
While it’s not the only flower used in this celebration (we’ve talked about others here), the Cempasúchil is undoubtedly the most iconic. According to tradition, its vibrant orange petals and intense fragrance have the power to guide the souls of the departed toward the world of the living, helping them find their way during their momentary return to Earth.
During the celebrations, these flowers abound in cemeteries and on the small altars set up in homes: an explosion of color and meaning that makes this festival visually unique and deeply moving.
Online you can also find numerous video tutorials for creating DIY paper versions of the Cempasúchil: a creative and educational idea, perfect for involving children in a hands-on activity that can also become an opportunity to tell them about a distant but fascinating tradition that, thanks in part to the animated film “Coco”, has become known and loved beyond Mexico.
Diy crepe paper Cempasúchil
Among the many tutorials available online for making the symbolic flowers of Día de los Muertos with crepe or tissue paper, today we’re highlighting the one from El abuelo Juan: a clear and detailed guide for creating, step by step, beautiful DIY Cempasúchil.
- Get a strip of crepe paper folded in multiple layers and draw circles of the same diameter along the entire length. You can use a glass as a template to help you.
- Staple the center of each circle twice, forming a cross with the staples: this way the layers will stay well attached.
- Cut out each circle with scissors following the outline, keeping the layers stacked.
- Then make small cuts all along the circumference, spacing them more or less evenly: these will create the petal effect.
- With your hands, gently open the various layers, lifting them one at a time upward, until the flower blooms and you achieve a full and fluffy shape.
