
You don't need to be a technician to understand where your home is losing heat: all you need is a candle, some attention, and the desire to save money
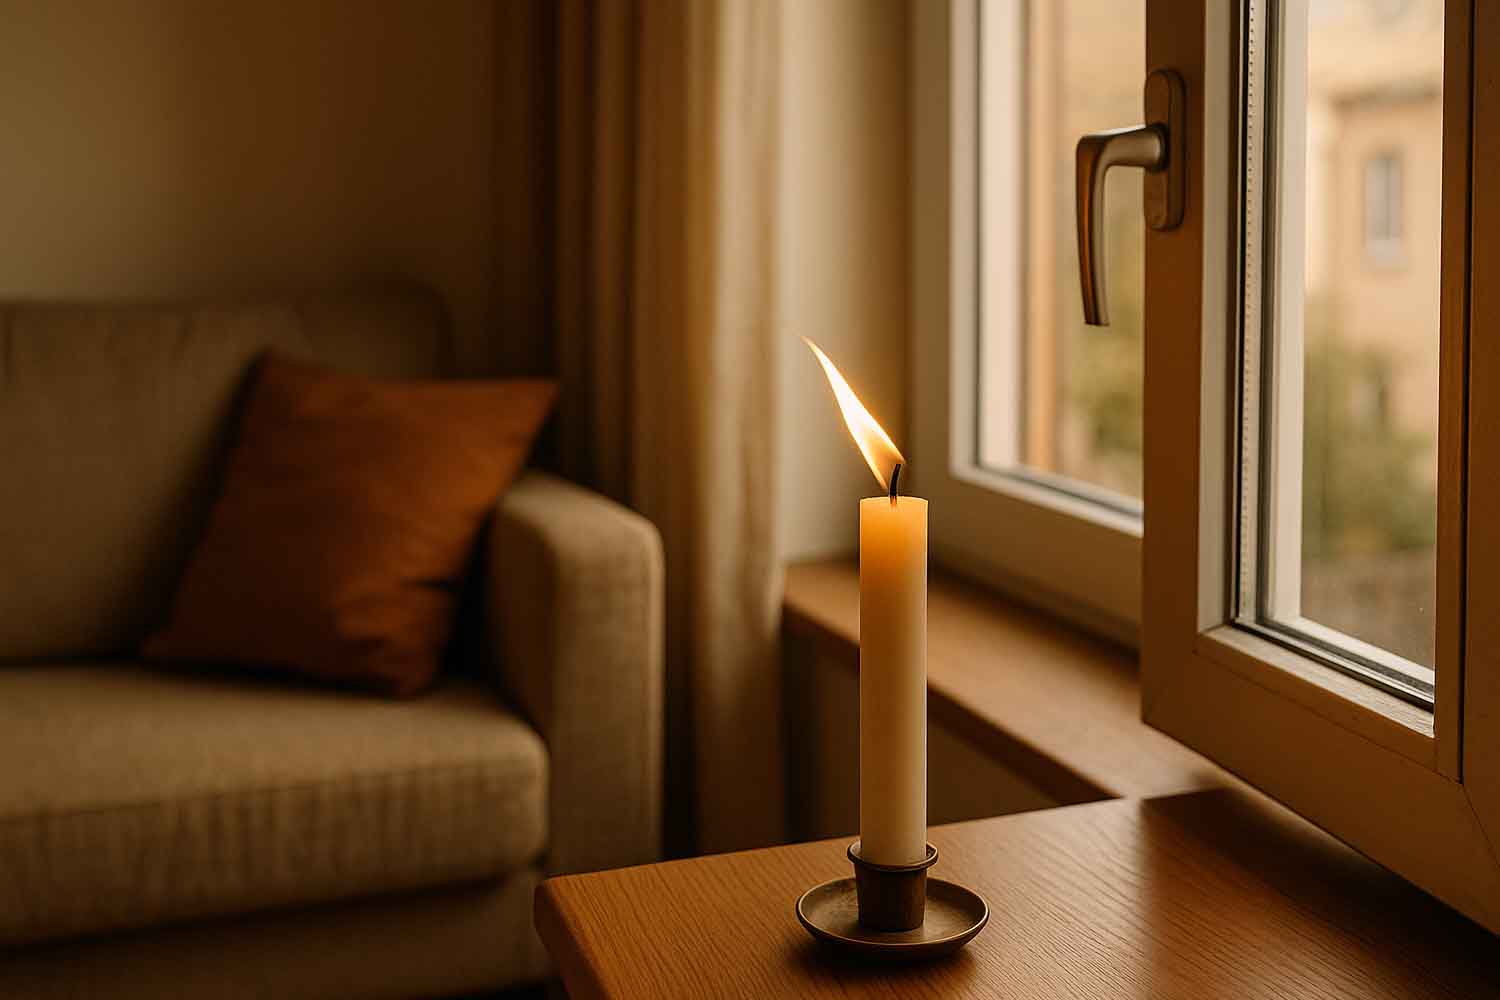
Table of contents
In the middle of winter, how many times have you felt a thread of cold air near a closed window? Behind that annoying sensation almost always hides a draft, meaning a micro-crack through which outside air enters and heat escapes.
To detect it, you don’t need an expensive tool: the candle test is a simple trick that can reveal where your home is “breathing” too much. Just light a candle and slowly pass it along the edges of windows, doors, or roller shutter boxes. If the flame bends or flickers, it means air is passing through there.
It’s a simple yet effective method that helps map critical points and understand where to intervene with new seals, sealants, or minor repairs. It doesn’t measure heat loss in numbers, but it gives a clear picture of invisible infiltrations that, when added up, make your bill skyrocket.
What science says
While it may seem like a home experiment, the issue of building airtightness is actually the subject of scientific studies throughout Europe. A group of researchers from Universidad San Pablo-CEU in Madrid, led by Roberto Alonso González-Lezcano, conducted an analysis on 151 multi-family dwellings to understand how much air filters through walls and fixtures.
Their work, published in Frontiers in Built Environment, showed that the average analyzed homes lose air at a rate of about 5.8 air changes per hour. Translated: the internal air volume is completely “replaced” almost six times every hour, simply due to lack of sealing.
According to the authors, as construction materials become more insulating, losses due to drafts weigh increasingly more on the overall energy balance. Not only do they increase consumption, but they reduce comfort, worsen indoor air quality, and facilitate the entry of dust and noise.
In short, even the best thermal insulation serves little purpose if air passes freely through the joints between wall and window.
How to do the candle test (safely and with clear results)
To put the candle test into practice, you just need a few minutes and a bit of attention. Here’s how to do it:
- Close everything. Doors, windows, air vents, and fireplaces: the goal is to create an environment as isolated as possible.
- Light the candle. Position it on a stable support, away from curtains or flammable surfaces.
- Move it slowly. Pass the flame near the edges of fixtures, the roller shutter box, thresholds, and room corners.
- Observe the flame’s behavior. If it stays still, everything’s okay. If it leans, moves, or goes out, there’s a draft there.
- Note the critical points. They’ll be useful for deciding where to intervene.
A small trick: you can replace the candle with an incense stick. The smoke makes air currents visible even more clearly.
How to intervene after the test: from DIY remedies to lasting solutions
Once you’ve discovered the drafts, taking action is simple. Worn seals can be replaced with new rubber or silicone ones; cracks in joints are sealed with specific foams or silicones; while more evident leaks may require a technician’s intervention.
Those who want a more precise verification can request a blower door test, a professional analysis that measures how much air enters or exits the home. It’s the “scientific” version of the candle test, also used to certify high-efficiency buildings.
Why it’s worth doing
Reducing air dispersions means saving energy, improving comfort, and contributing to a more sustainable use of resources. You don’t need to invest huge amounts: often small targeted interventions are enough.
And, as the Spanish study reminds us, a home’s true efficiency doesn’t depend only on how insulated it is, but on how airtight it is. Start with a candle: you might discover that your home can “breathe better” without dispersing heat.